ソース:匠人設計
フィリグリーインレイのカスタマイズプロセス ☼ フィリグリー象嵌は、ジュエリー、工芸品...
フィリグリーインレイのカスタマイズプロセス
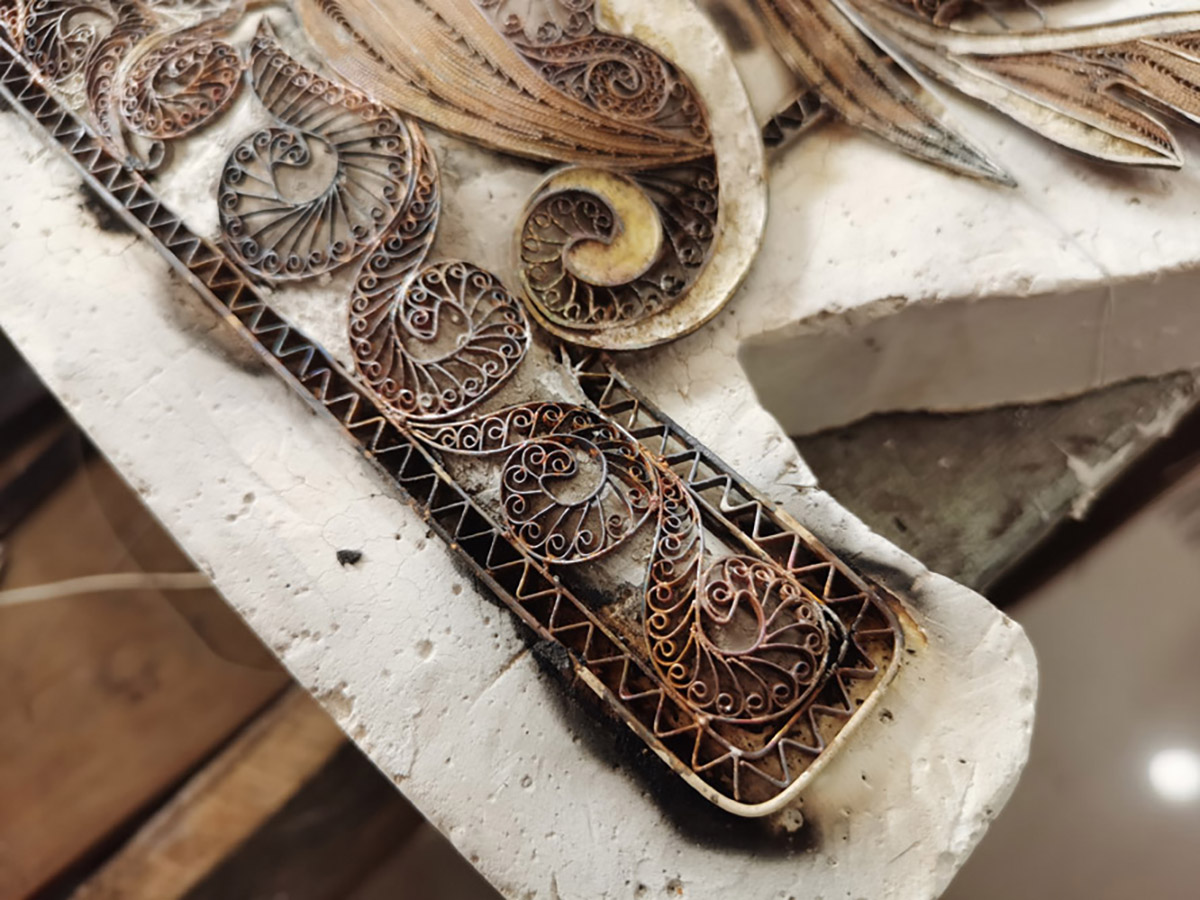
☼ フィリグリー象嵌は、ジュエリー、工芸品、装飾品の製造によく使用される古代の繊細な工芸品です。 一般的なフィリグリー象嵌の製造プロセスは次のとおりです。
1. 材料を設計して準備します。
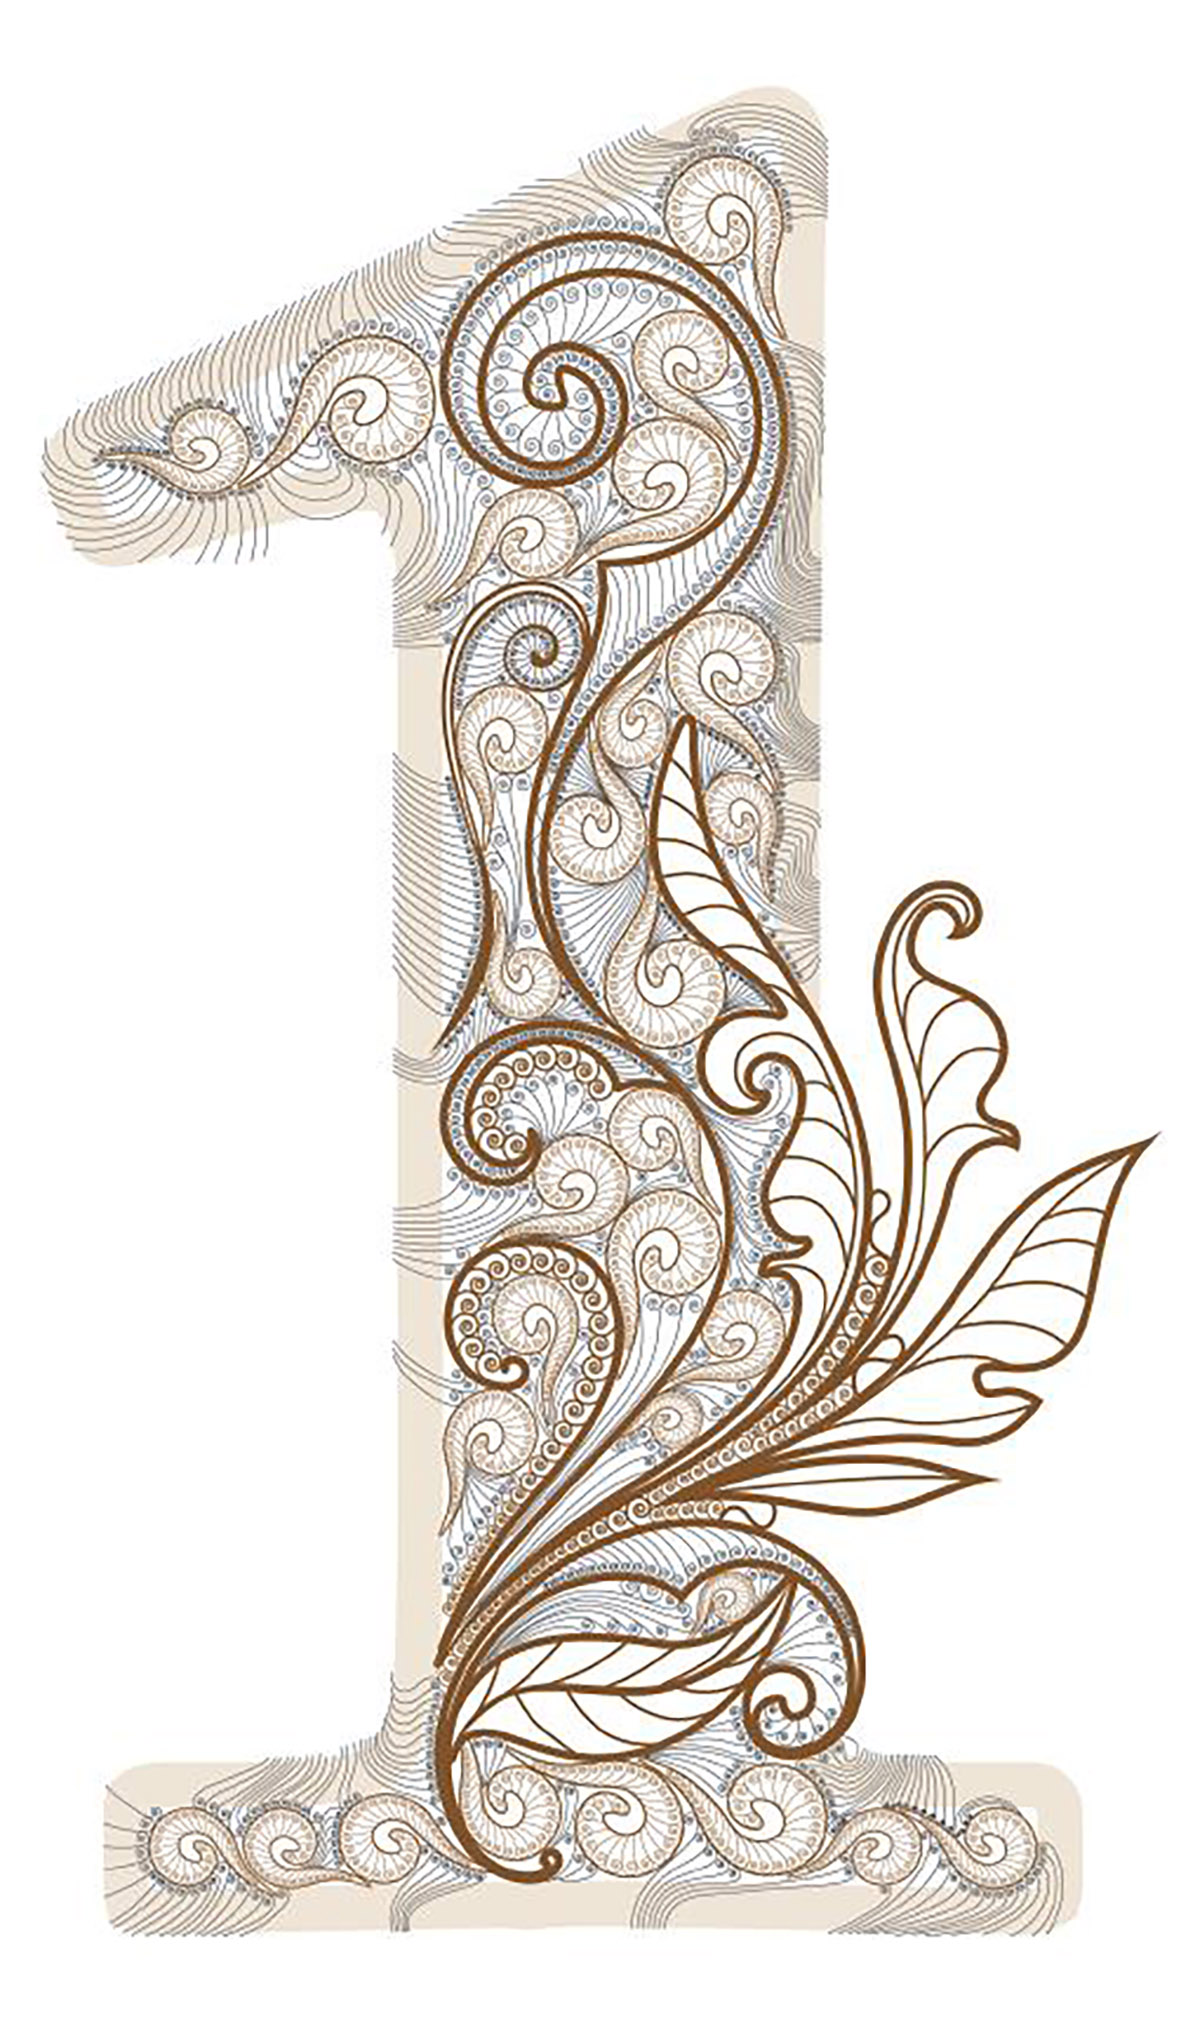
まず、デザイナーは、制作するオブジェクトの目的とスタイルに基づいて、クライアントとデザインの全体的なスタイルを決定します。 次に、鉛筆などの簡単なツールを使用して、最初にいくつかの概念的な計画をスケッチします。 コンセプトの確認後に予備デザインをデジタル形式に変換すると、デザイナーは全体のバランス、対称性、美的効果を考慮して、サイズ、比率、ディテールをより適切に調整し、さまざまなレイアウトや配置を試すことができます。 そして、経験豊富なフィリグリー職人と生産の実現可能性の検討について話し合って、最終決定を下します。
2. ベースを作ります。
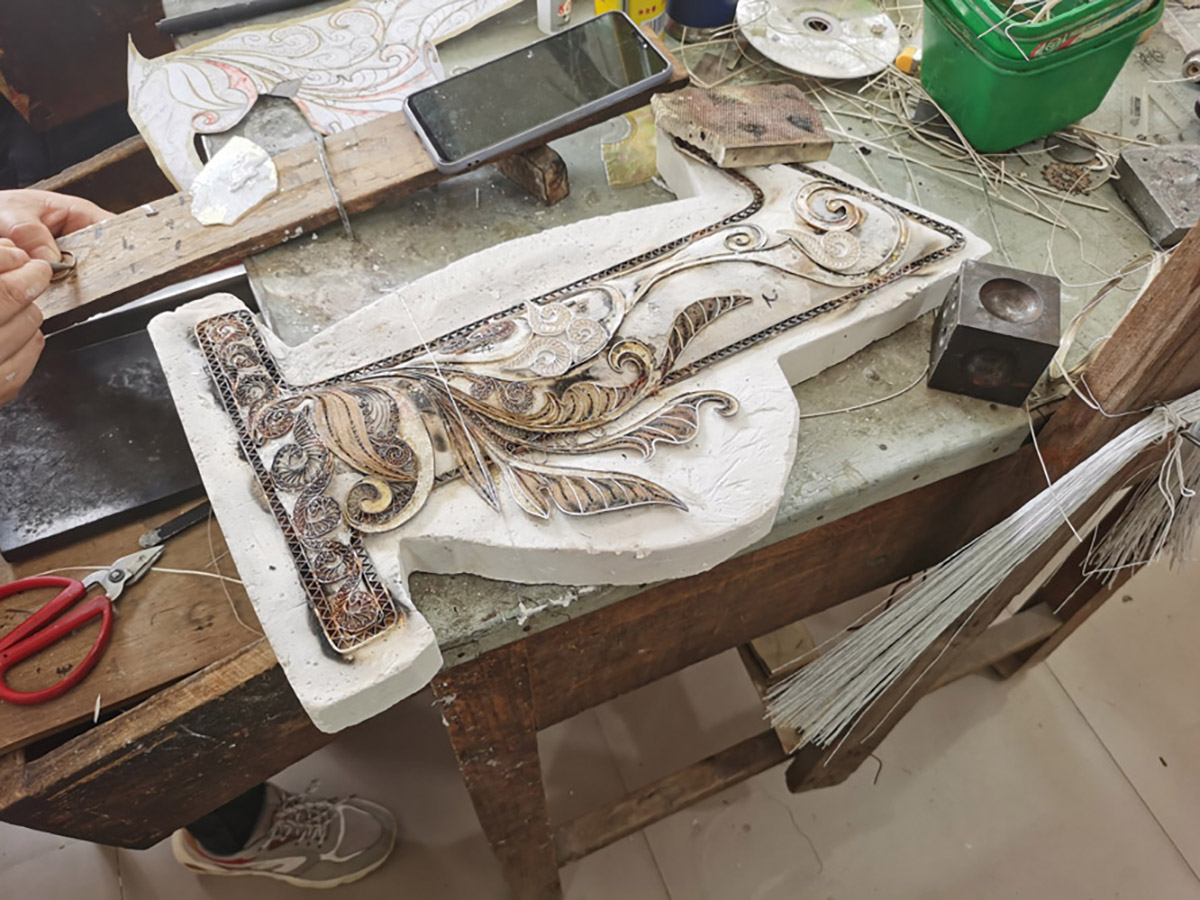
デザインに基づいて、象嵌する必要があるベースが製造されます。 これは、石膏、木材、または他の適切な材料であり得る。 その後のインレイ作業を容易にするために、ベースは滑らかで平らである必要があります。
3. 材料の切断:
選んだ素材をデザインに合わせて適切な形や大きさにカットします。 これには、宝石、真珠、ワイヤーなどの切断が含まれる場合があります。
4. フィラメントを作成します。
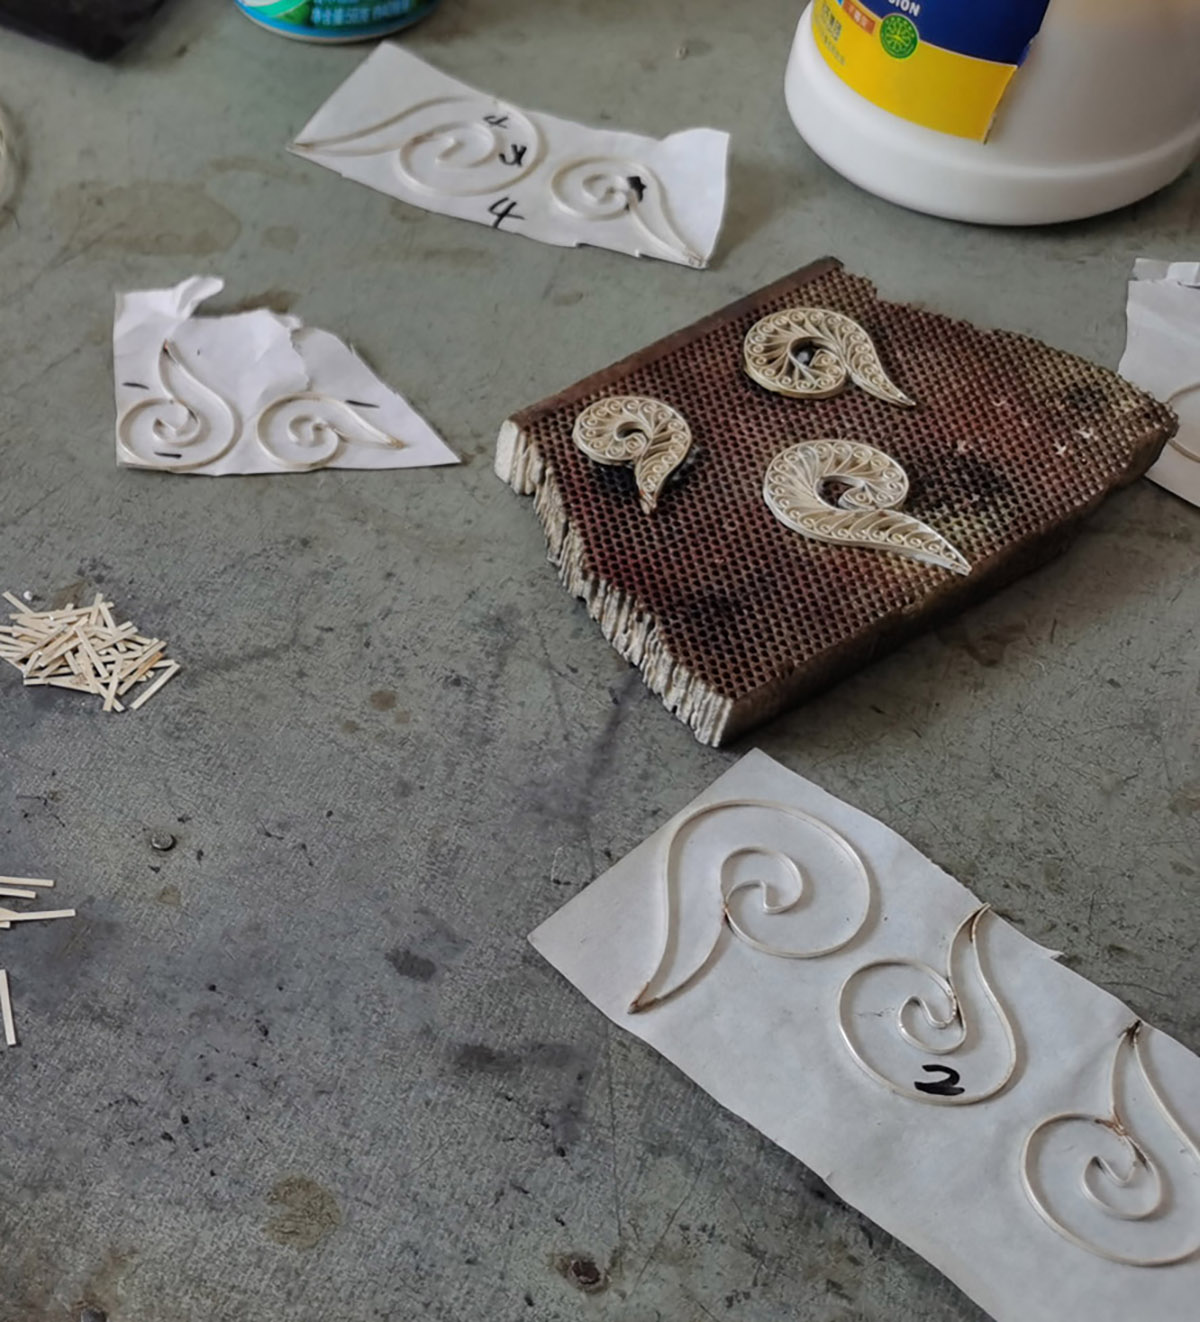
金属のワイヤー (通常は金、プラチナ、または銀。金はより繊細に作ることができますが、より柔らかく、より高価です) を加熱し、目的のフィラメントが形成されるまで引っ張ります。 これらのフィラメントはツイスト形状に撚られ、これらの加工されたフィラメントはフィリグリー パターンやインレイの作成に使用されます。
5. インレイ:
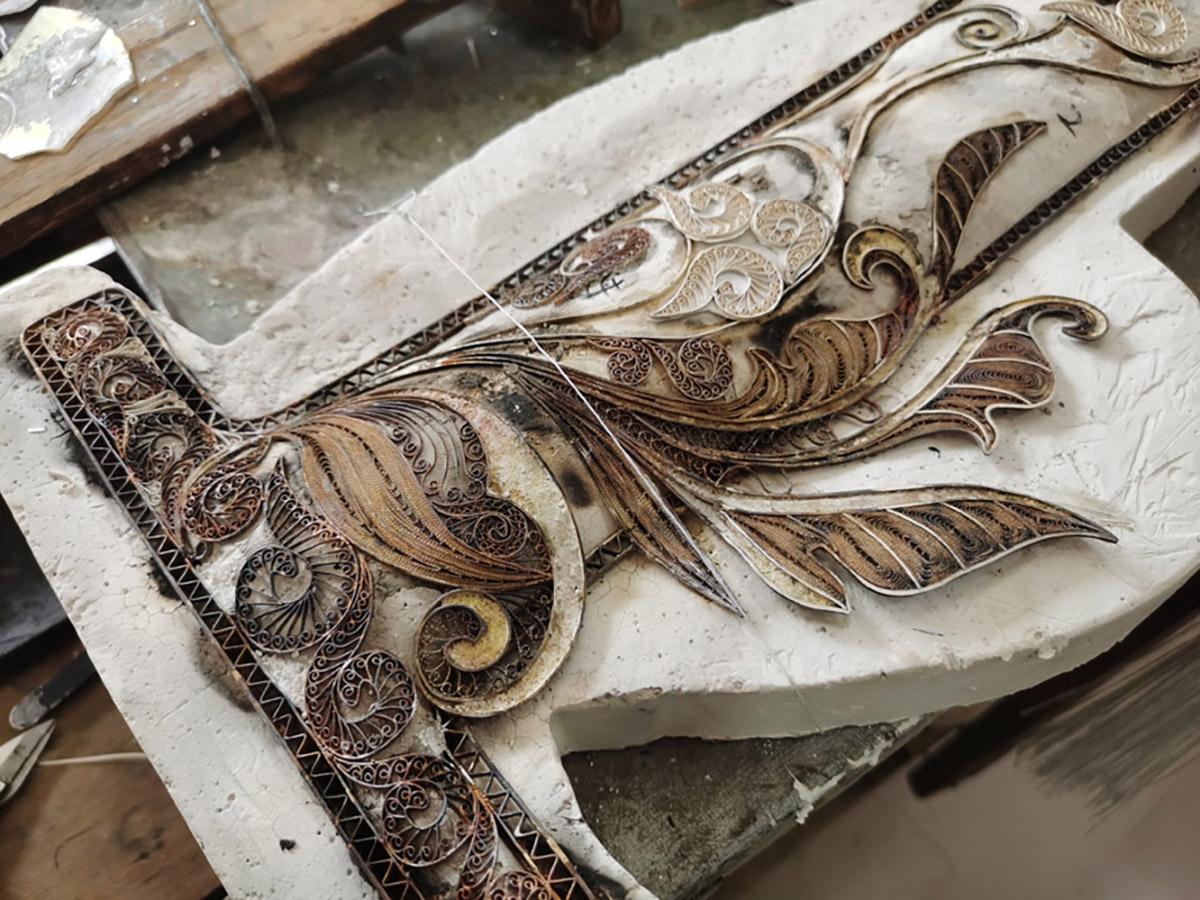
専用のツールを使用して、カットした素材(宝石、真珠など)をベースに置き、既成のフィリグリーで固定します。 これは全プロセスの中で最も繊細で時間のかかるステップの 1 つであり、高度なスキルと忍耐力が必要です。
6. 溶接と改造:
すべての材料を所定の位置に設置したら、それらを固定するために溶接が必要です。 その後、サンディング、研磨、メッキなどのタッチアップを行って、作品をより美しく仕上げます。
7. 点検と調整:
完成したら、徹底的な検査を実行して、すべての部品が安全であり、設計要件を満たしていることを確認します。 必要に応じて、最終的な調整や修正を行います。
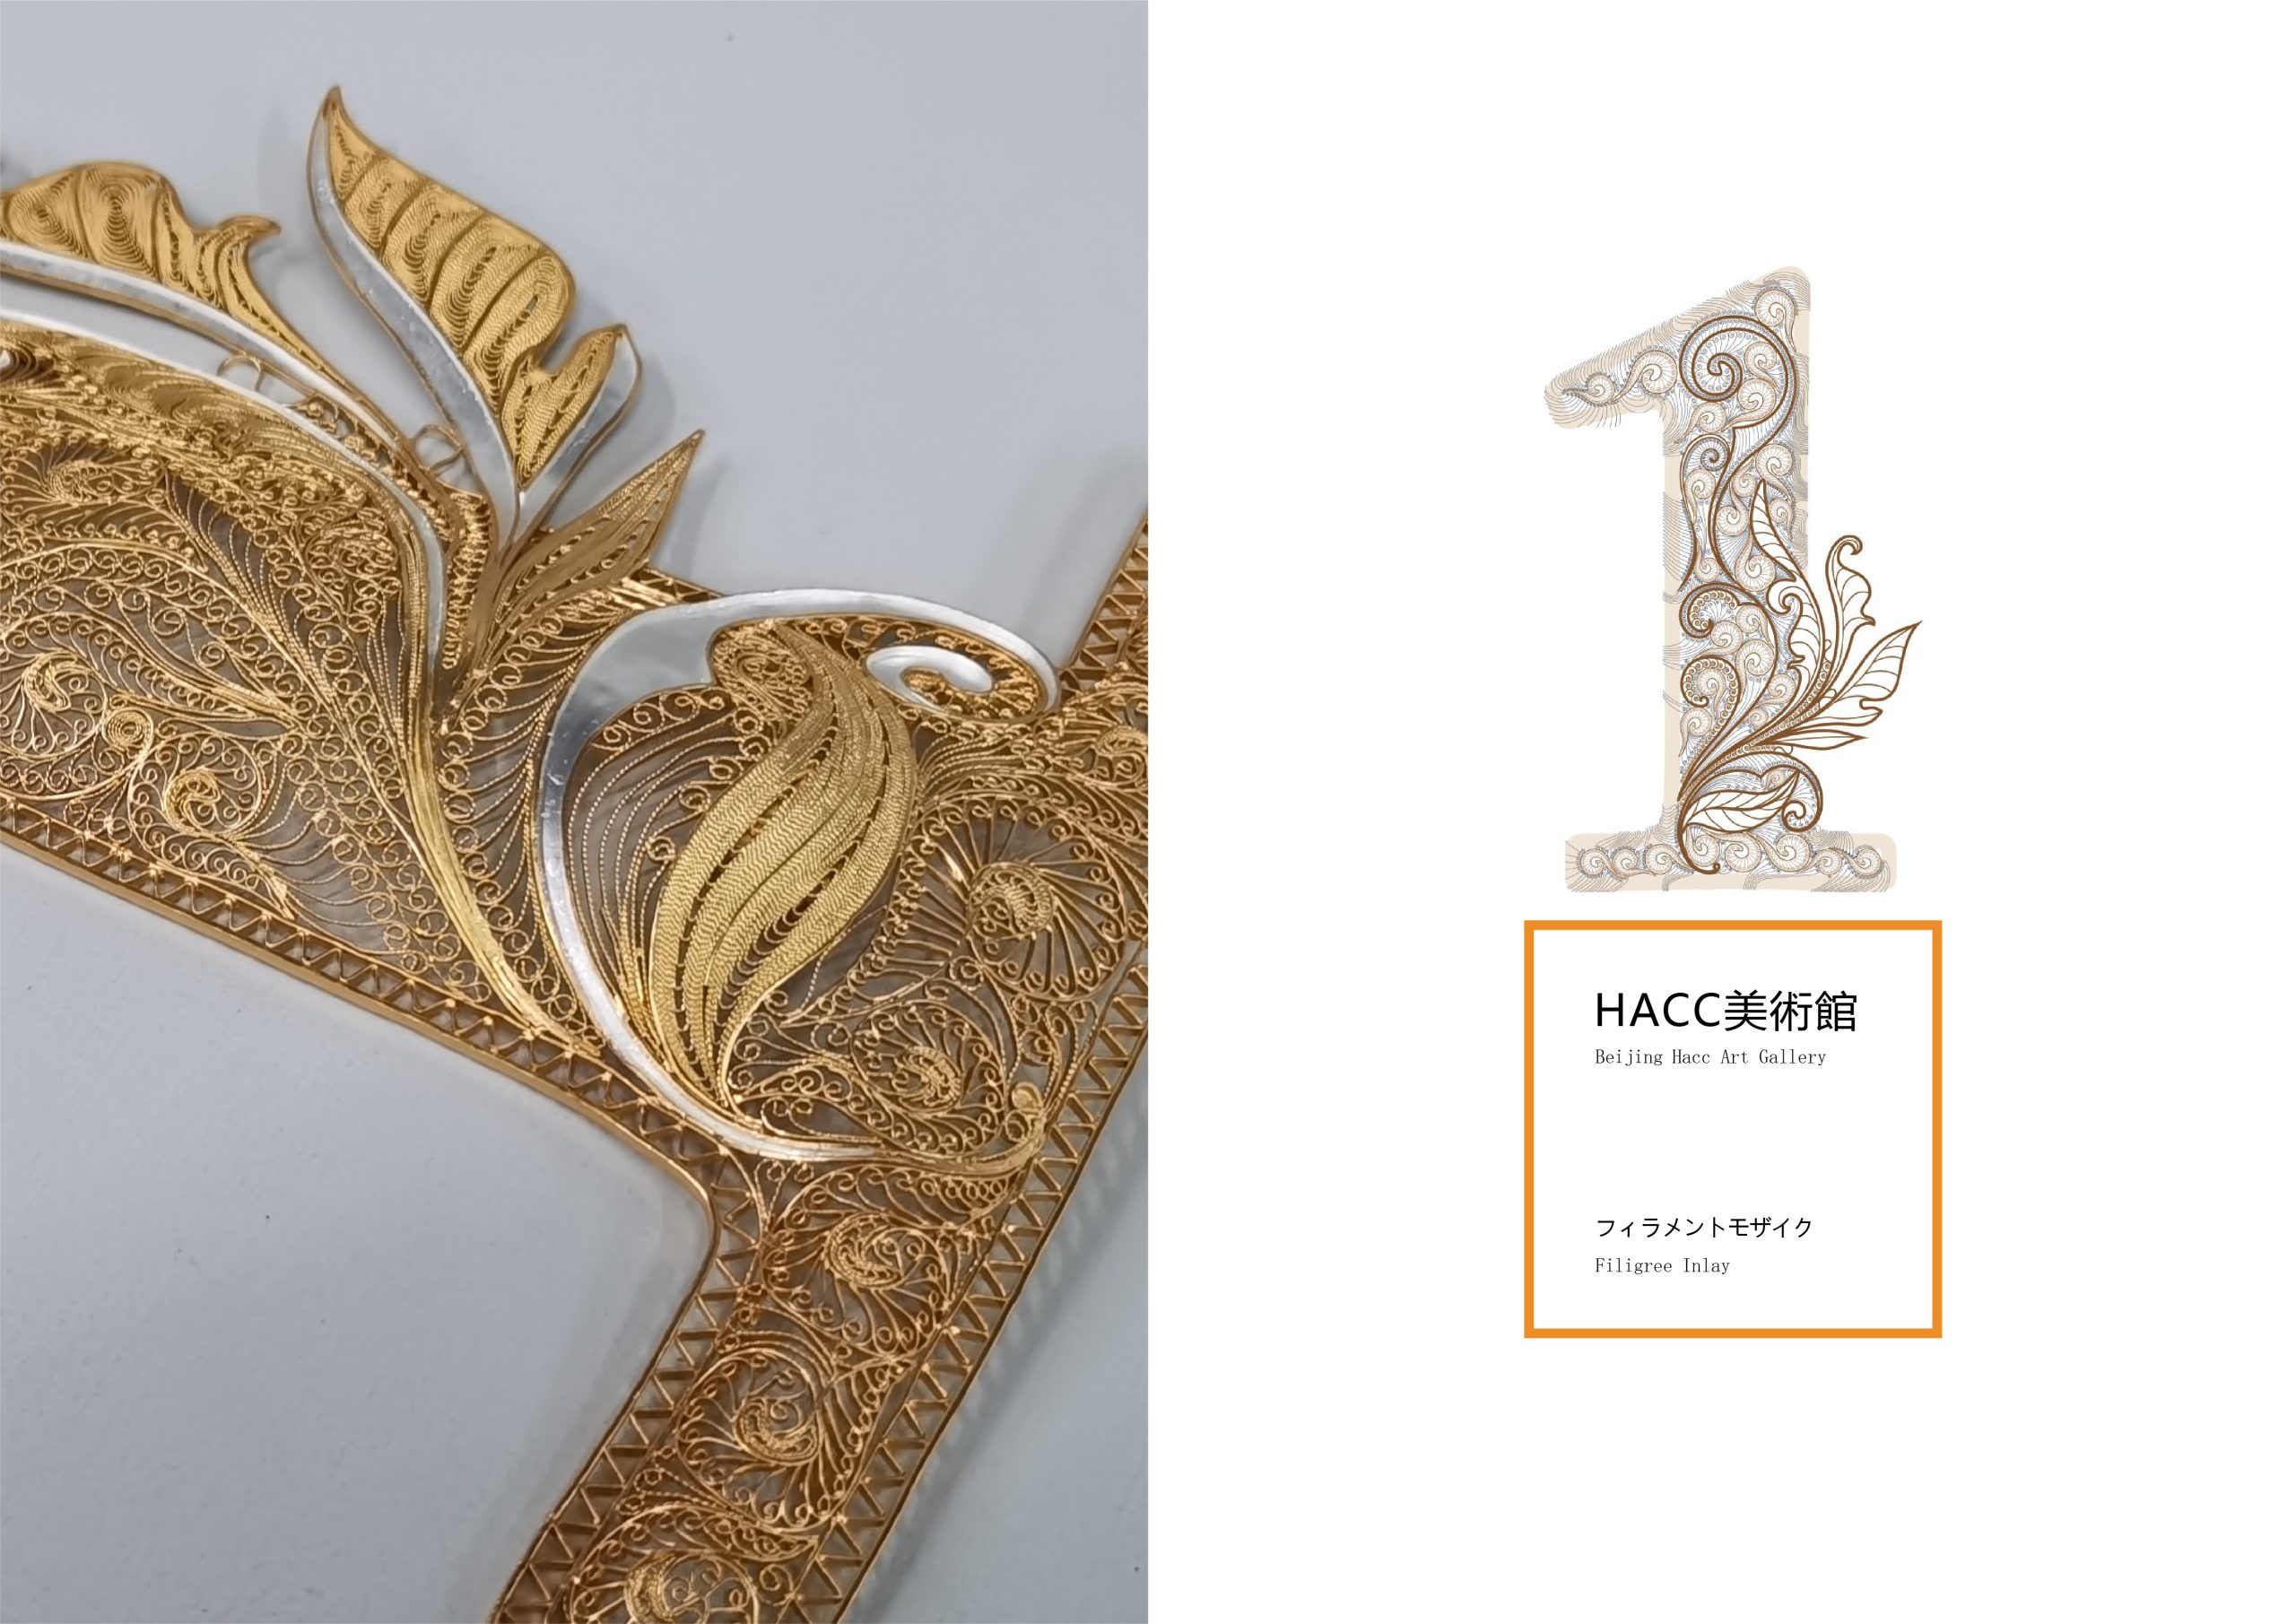
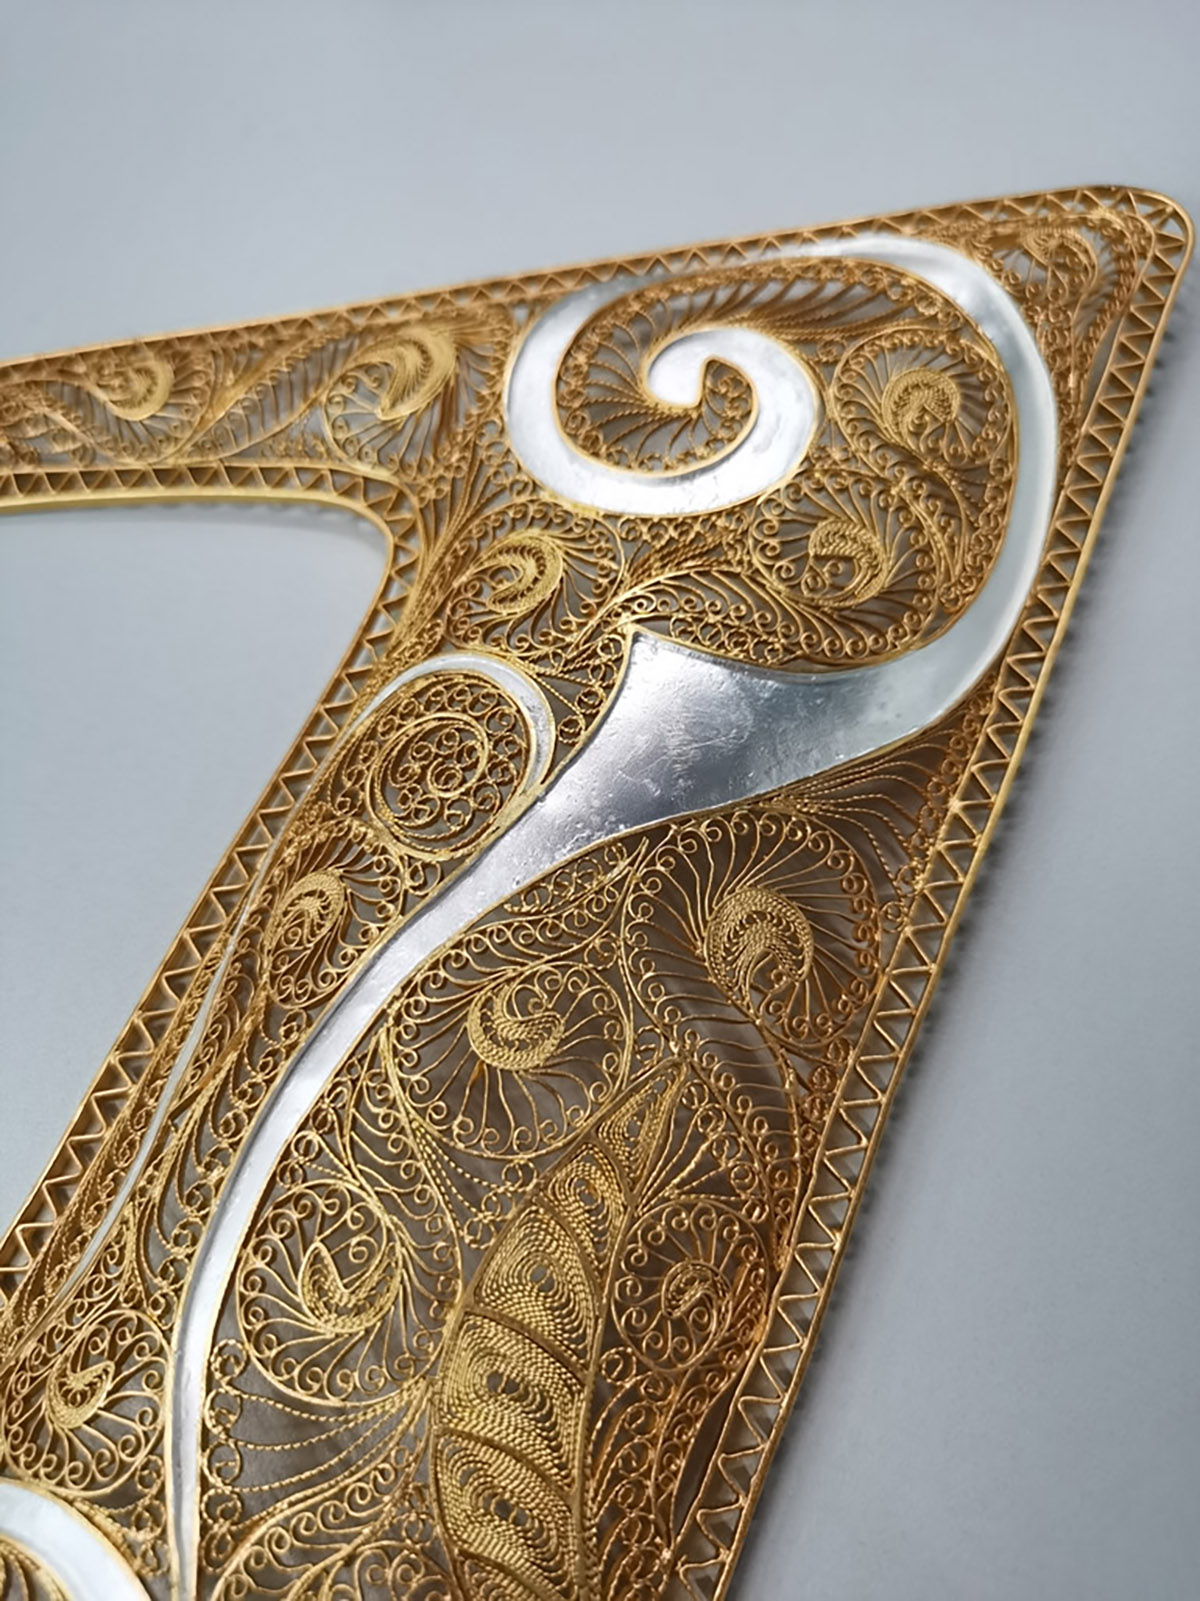
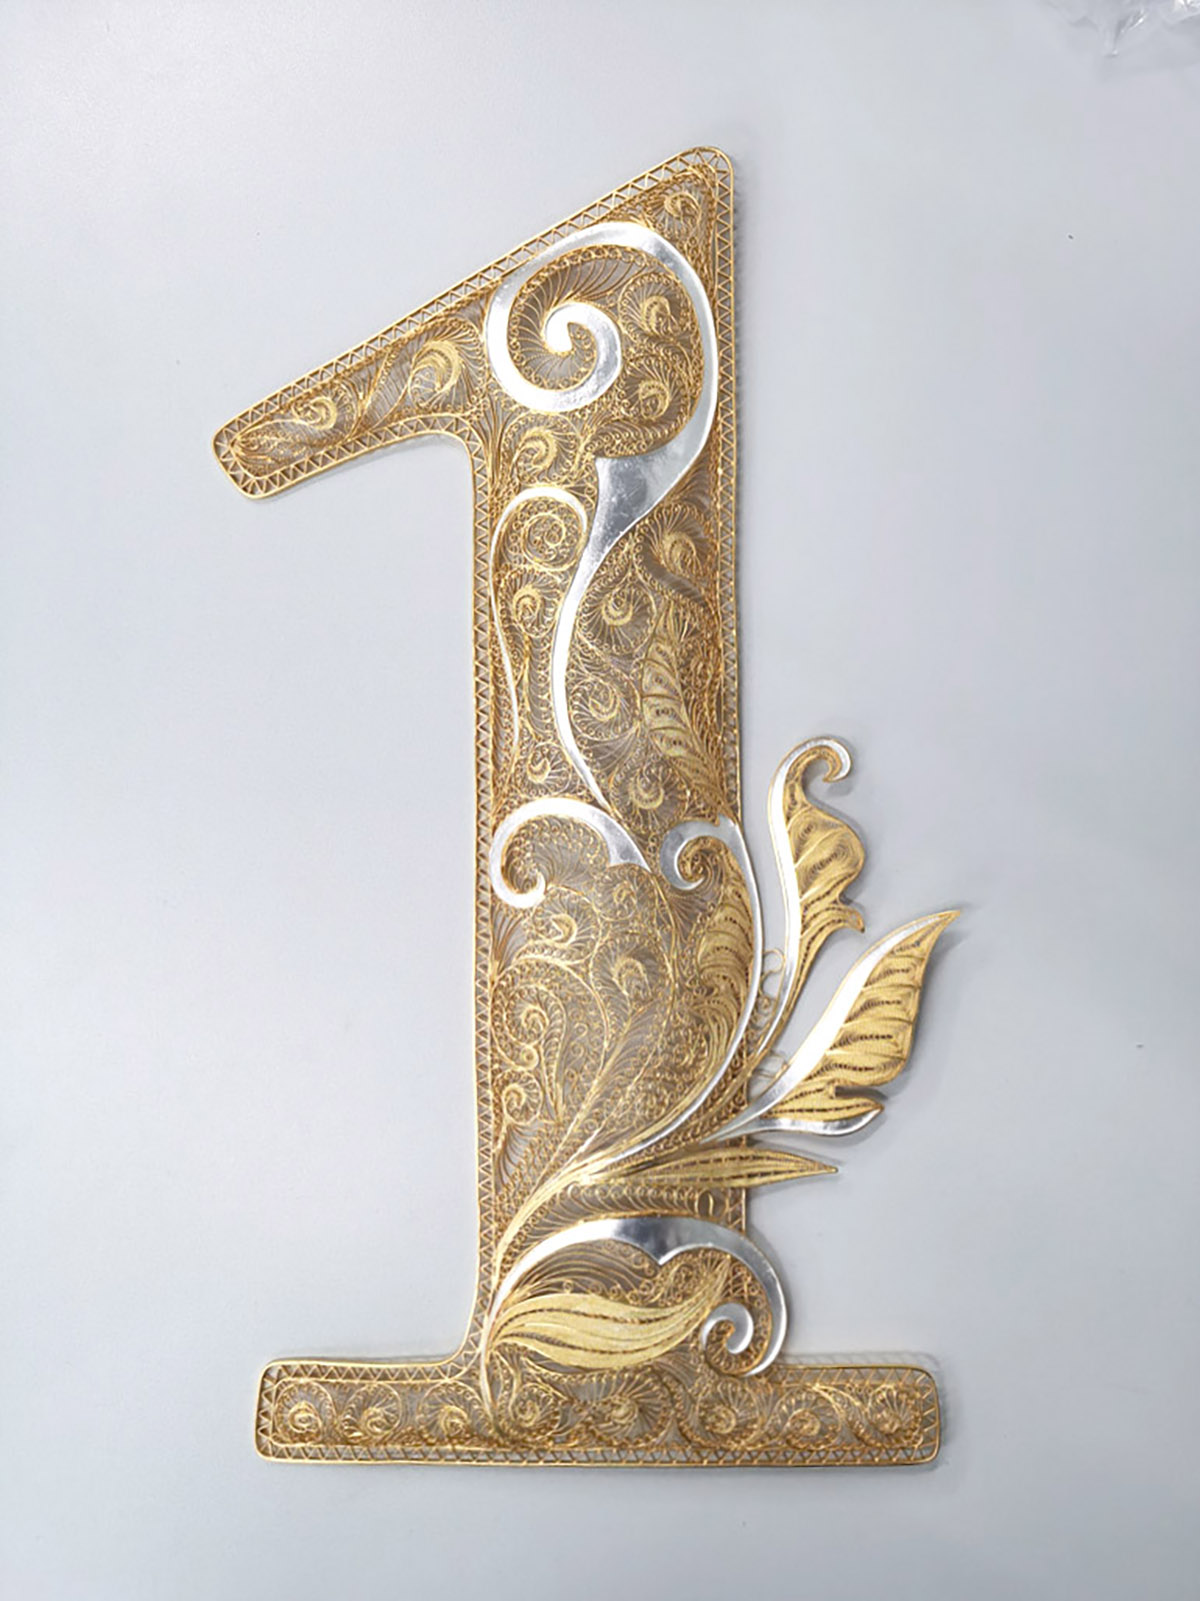
写真は美術館用にカスタマイズした階数です。シルバー925だけで約2キロもしました。
Filigree inlay customization process
☼ Filigree inlay is an ancient delicate craft that is often used in the production of jewelry, crafts, and decorative items. The general filigree inlay production process is as follows:
1. Design and prepare the material:
First, the designer will decide on the overall style of the design with the client based on the purpose and style of the object to be produced. Then, using a simple tool such as a pencil, sketch some conceptual plans first. Converting the preliminary design into digital form after the concept confirmation allows the designer to better adjust the size, proportion, and details, and try different layouts and arrangements, taking into account the overall balance, symmetry, and aesthetic effect. Then, discuss the production feasibility study with an experienced filigree craftsman to make the final decision.
2. Make the base:
Based on the design, the base that needs to be inlayed is manufactured. This can be plaster, wood, or other suitable materials. The base needs to be smooth and flat to facilitate the subsequent inlay work.
3. Cutting the material:
Cut the selected material into the appropriate shape and size according to the design. This may include cutting gemstones, pearls, wires, etc.
4. Create the filament:
A wire of metal (usually gold, platinum, or silver; gold can be made more delicate, but it is softer and more expensive) is heated and pulled until the desired filament is formed. These filaments are twisted into a twisted shape, and these processed filaments are used to create filigree patterns and inlays.
5. Inlay:
Using specialized tools, the cut material (gems, pearls, etc.) is placed on the base and secured with pre-made filigree. This is one of the most delicate and time-consuming steps in the entire process, requiring great skill and patience.
6. Welding and Modification:
Once all the materials are in place, welding is required to secure them in place. Then touch-ups such as sanding, polishing, and plating are done to make the piece more beautiful.
7. Inspect and Adjust:
Once completed, a thorough inspection is performed to ensure all parts are safe and meet the design requirements. If necessary, make any final adjustments or corrections.
The picture shows a floor number customized for the museum. The 925 silver alone weighed about 2 kilograms.

